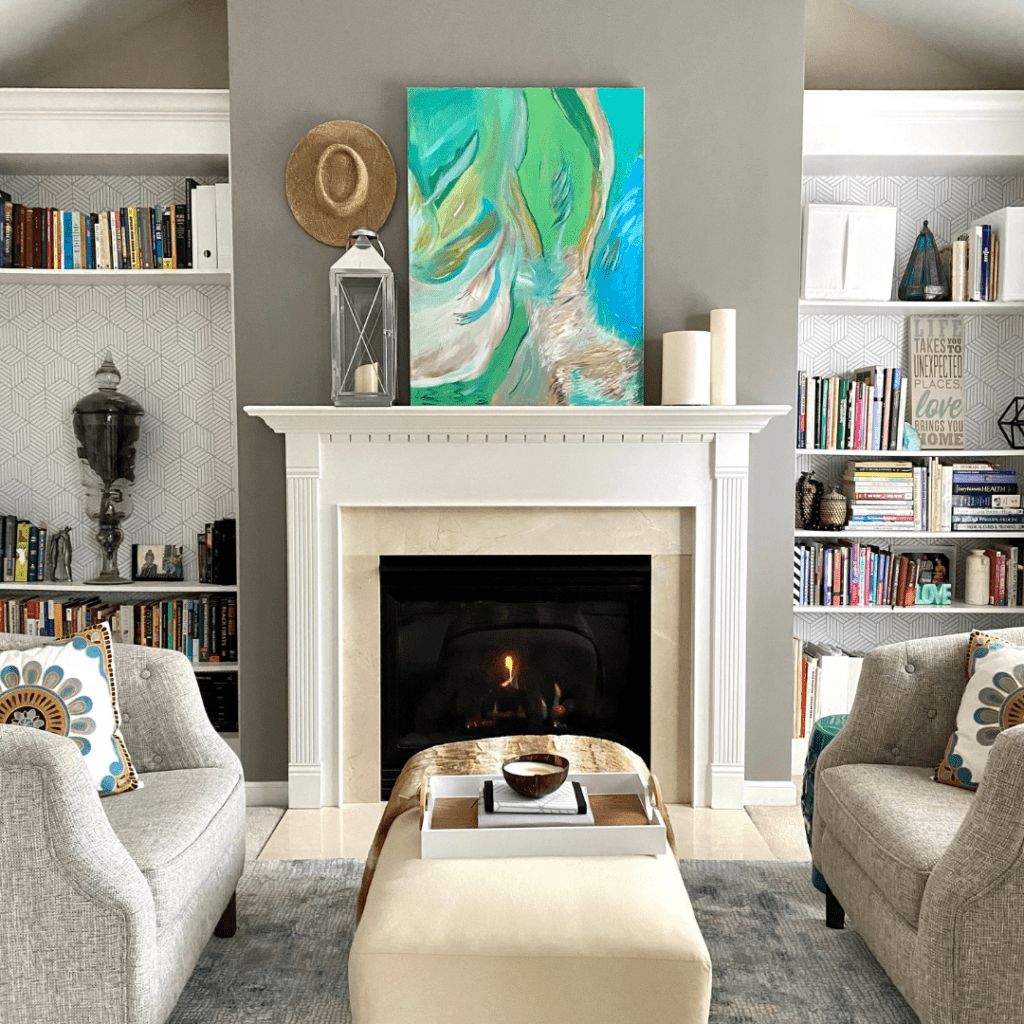
I know I’m not the only one to look at a room and think: “this could really use something, anything, new.” Well, tiny little changes can make a huge difference, but tiny little changes can also be deceptively expensive and make you decide to just leave a room the way it is. But we’re not here to settle, so roll up your sleeves because I have two DIY projects you can do on a budget that will add something unique to your home.
DIY has been trending, and we’re all so capable, so it makes sense that a handful of things (not the big things, don’t be scared of professionals when they are needed!) can be done by your very own hands and come out looking super amazing!
Bookshelf Wallpaper Background
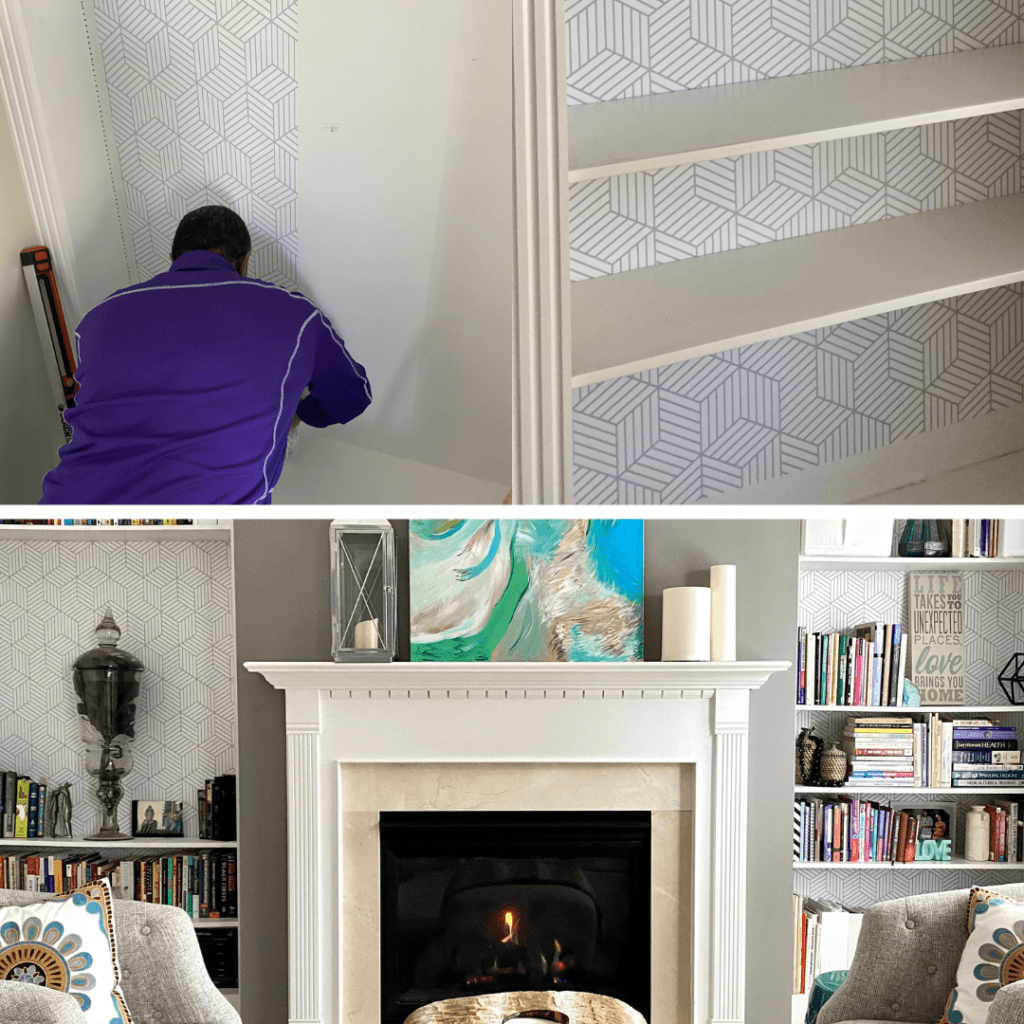
Let’s get started! A good wallpaper background can add so much depth to a room and make your bookshelves chic and fun. You can make this a subtle detail with a light or understated pattern, or go big with huge floral patterns and landscapes. The amazing artists at Minted have fantastic wallpaper options, so check them out and get designing!
Step 1: Find a peel and stick wallpaper that you love. We like Tempaper and the collections from Brewster home fashions.
Step 2: Remove shelves (bonus points if they are slide-in shelves and you can literally just lift them out 😉).
Step 3: Peel and stick! Take your time, make sure the patterns line up, and have a good tool for smoothing it down and getting all the air bubbles out.
Step 4: Put your shelves back in and style your books and knickknacks so that the new paper is visible but not the main focus.
Tree Stump Side Table
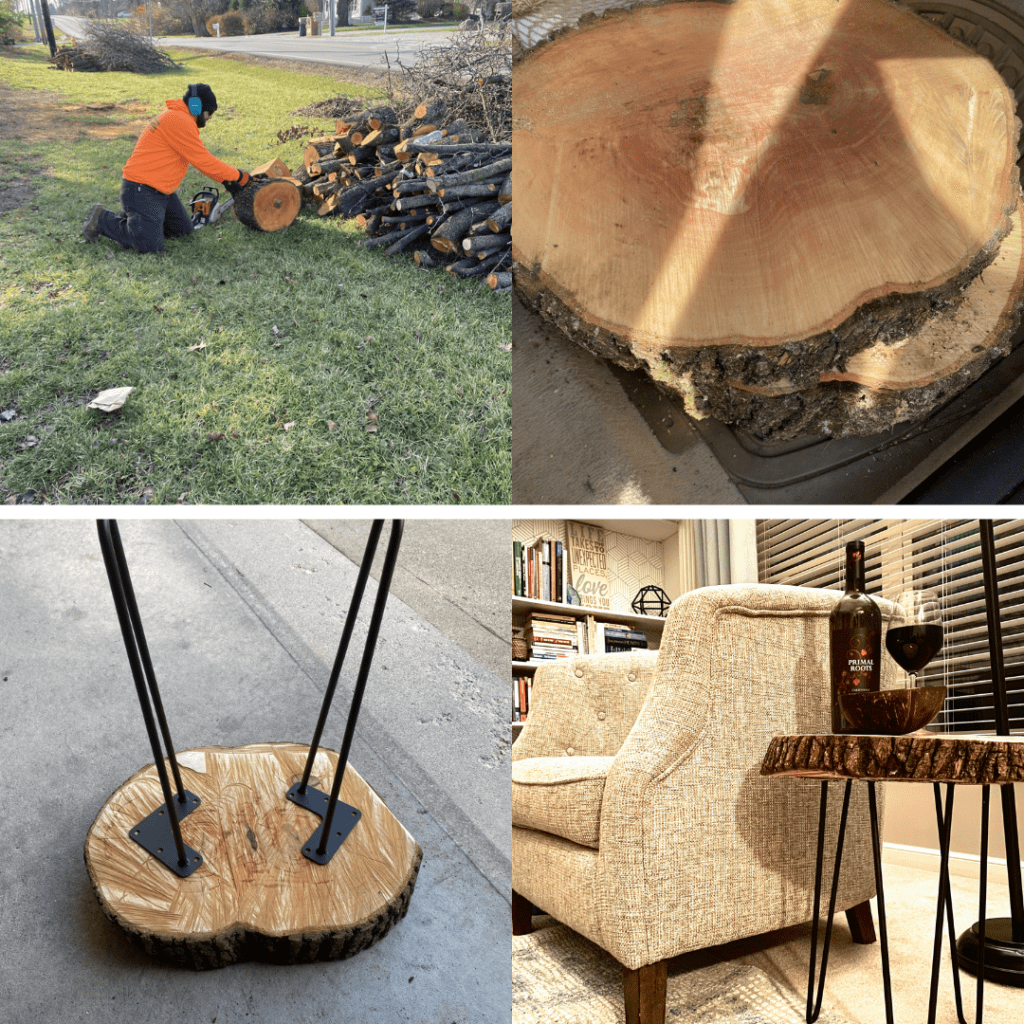
The caveat of this one is that you have to have access to a newly chopped down tree. But don’t despair. Drive around the neighborhood and see if anyone’s chopped a tree down lately. Put a call out on Facebook for anyone who might have wood you can use, or ask your friends and family. Facebook also has a marketplace that might, surprisingly, have some wood for sale. I’ve even gone on hikes and picked up branches and logs that I was able to turn into coasters, so the great outdoors might have the answers. The point is, when you come across some wood, it can be transformed into a fantastic and rustic-chic side table for your living room.
Step 1: Find the wood and sand it down.
Step 2: Stain or paint the surfaces, or add a coating of a sealant so it is water resistant.
Step 3: Order table leg pieces that suit your style and home décor.
Step 4: Secure the legs with good screws, and if necessary add pads to the bottoms so the legs don’t scrape the floor.
Step 5: Enjoy! Get cute coasters, lamps, candles, or plants to spruce it up.

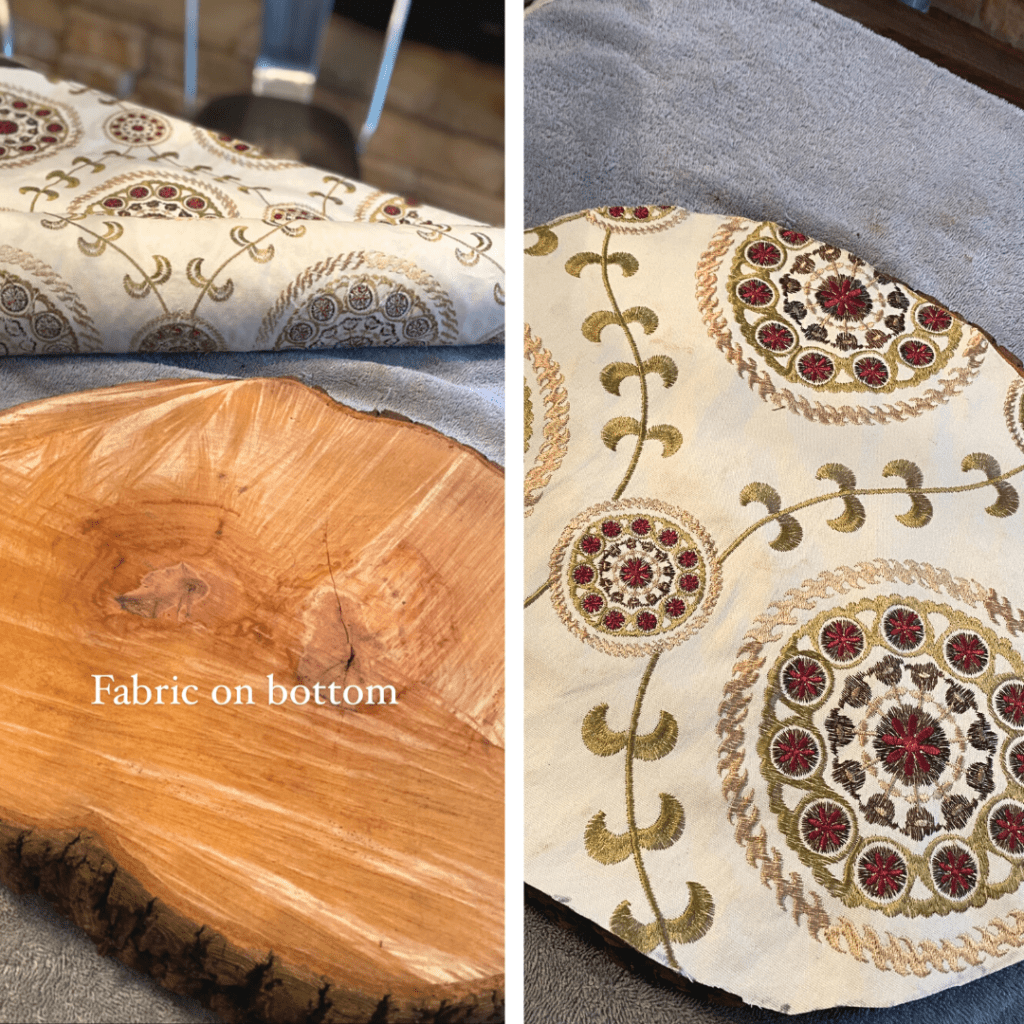
Two other great ways to treat pieces of wood is to a) cover it with fabric or b) leave it as is and use it for table centerpieces!
DIY is a fun and often inexpensive way to add something fun and new to any room in your home. Now go get creative!
Your Partner in Design,

This post includes affiliate links, but I do not recommend items I wouldn’t use in my own home.


